If you have multiple computers that need the macOS Sierra upgrade, you'll want to create a bootable install flash drive. The download for macOS Sierra is about 5 GB, and could take some time downloading on each computer individually. So downloading it once and making a bootable USB drive is an easier, faster way to go.
1. Download the macOS 10.12 Installer
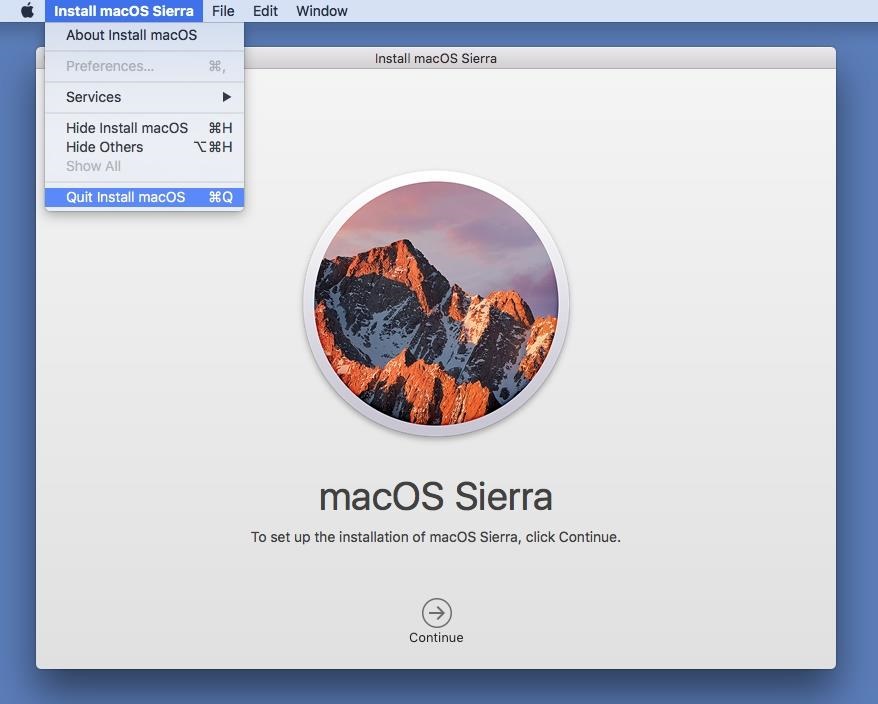
Download the macOS 10.12 Sierra from the Mac App Store (HERE) - but don't install it when it finishes downloading. If you do, it will auto-erase the file when your system gets back up and running, which means you won't have the file for your USB drive. So, close out any installation screen that pops up.
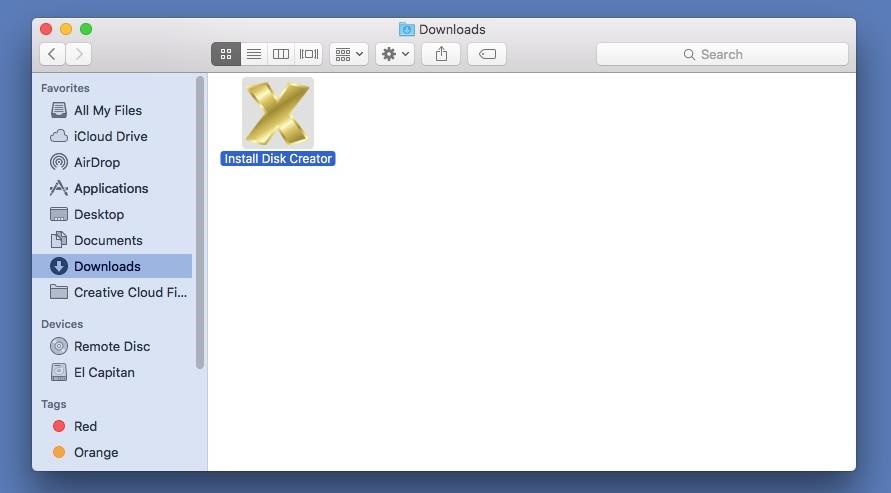
2. Get 'Install Disk Creator'
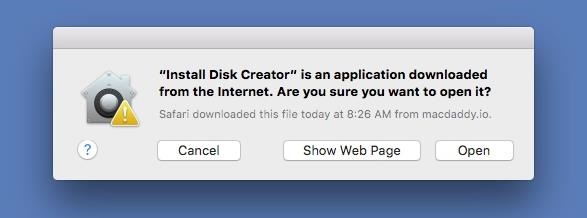
After downloading the app (HERE), unzip it, then open it up. When the popup appears, hit Open. (You may need to adjust your Gatekeeper security settings.)
3. Select Your USB Flash Drive
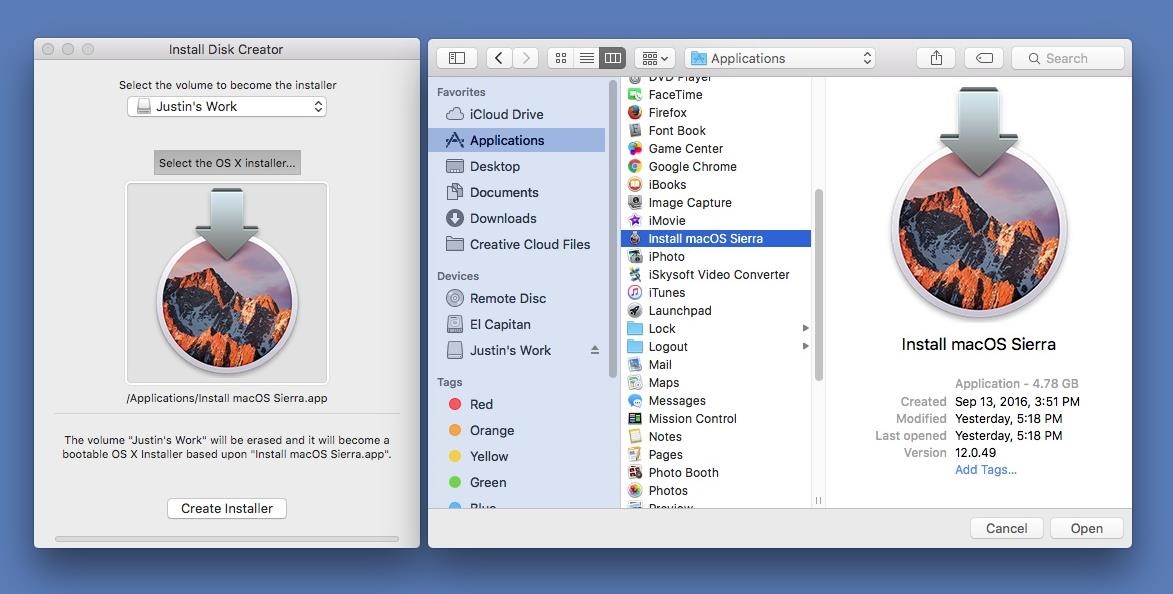
Use a USB flash drive with at least 16 GB of total space. It's possible an 8 GB one will work, but there have been issues with using 8 GB drives for more recent Mac installer files. The following process will totally wipe your USB flash drive, so make sure that you back up all of your important files, if any, before proceeding. When ready, select your flash drive in the drop-down menu in Install Disk Creator.

4. Choose Your Sierra File
Install Disk Creator will automatically detect your "OS X" installer file. If you have an old installer file from El Capitan or Yosemite installed, you might have to choose "Select the OS X installer" button, then navigate to your Applications folder and select "Install macOS Sierra."
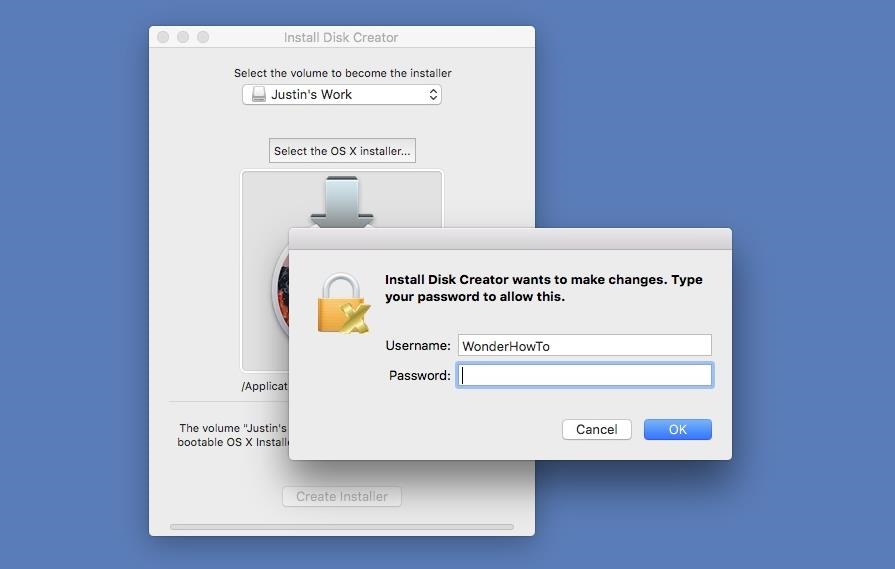
5. Erase and Create the New Disk
When ready, just hit the "Create Installer" button. You will need to enter your admin password to continue. As mentioned, this will erase your flash drive and turn it into a bootable macOS Sierra drive. So this is your last chance to stop and back up any important files on your flash drive before continuing. When the bootable drive is ready, you'll see a popup telling you so. The whole process takes about 6-7 minutes.
6. Install macOS Sierra on Your Computer
Now that you're all set, it's time to install Sierra on your computer. Most devices are supported, but just in case, check out the basic list of Macs you can install Sierra on below (for features requirements, see here). Also, you'll need OS X 10.75 or later, 2 GB of memory, and at least 8.8 GB of available storage to upgrade your computer.
- MacBook (Late 2009 or newer)
- MacBook Pro (Mid 2010 or newer)
- MacBook Air (Late 2010 or newer)
- Mac mini (Mid 2010 or newer)
- iMac (Late 2009 or newer)
- Mac Pro (Mid 2010 or newer)
With your bootable USB drive inserted in your computer, restart your Mac, then hold the Option (alt) key down on your keyboard until the Startup Manager appears. Select the macOS Sierra drive to continue. The macOS Utilities will open. Just select "Install macOS" from the list of options, then follow all of the on-screen prompts to start the installation process. After that, all you have to do is wait for it to boot back up with your new Sierra operating system!
Credit: gadgethacks.com
No comments:
Post a Comment